

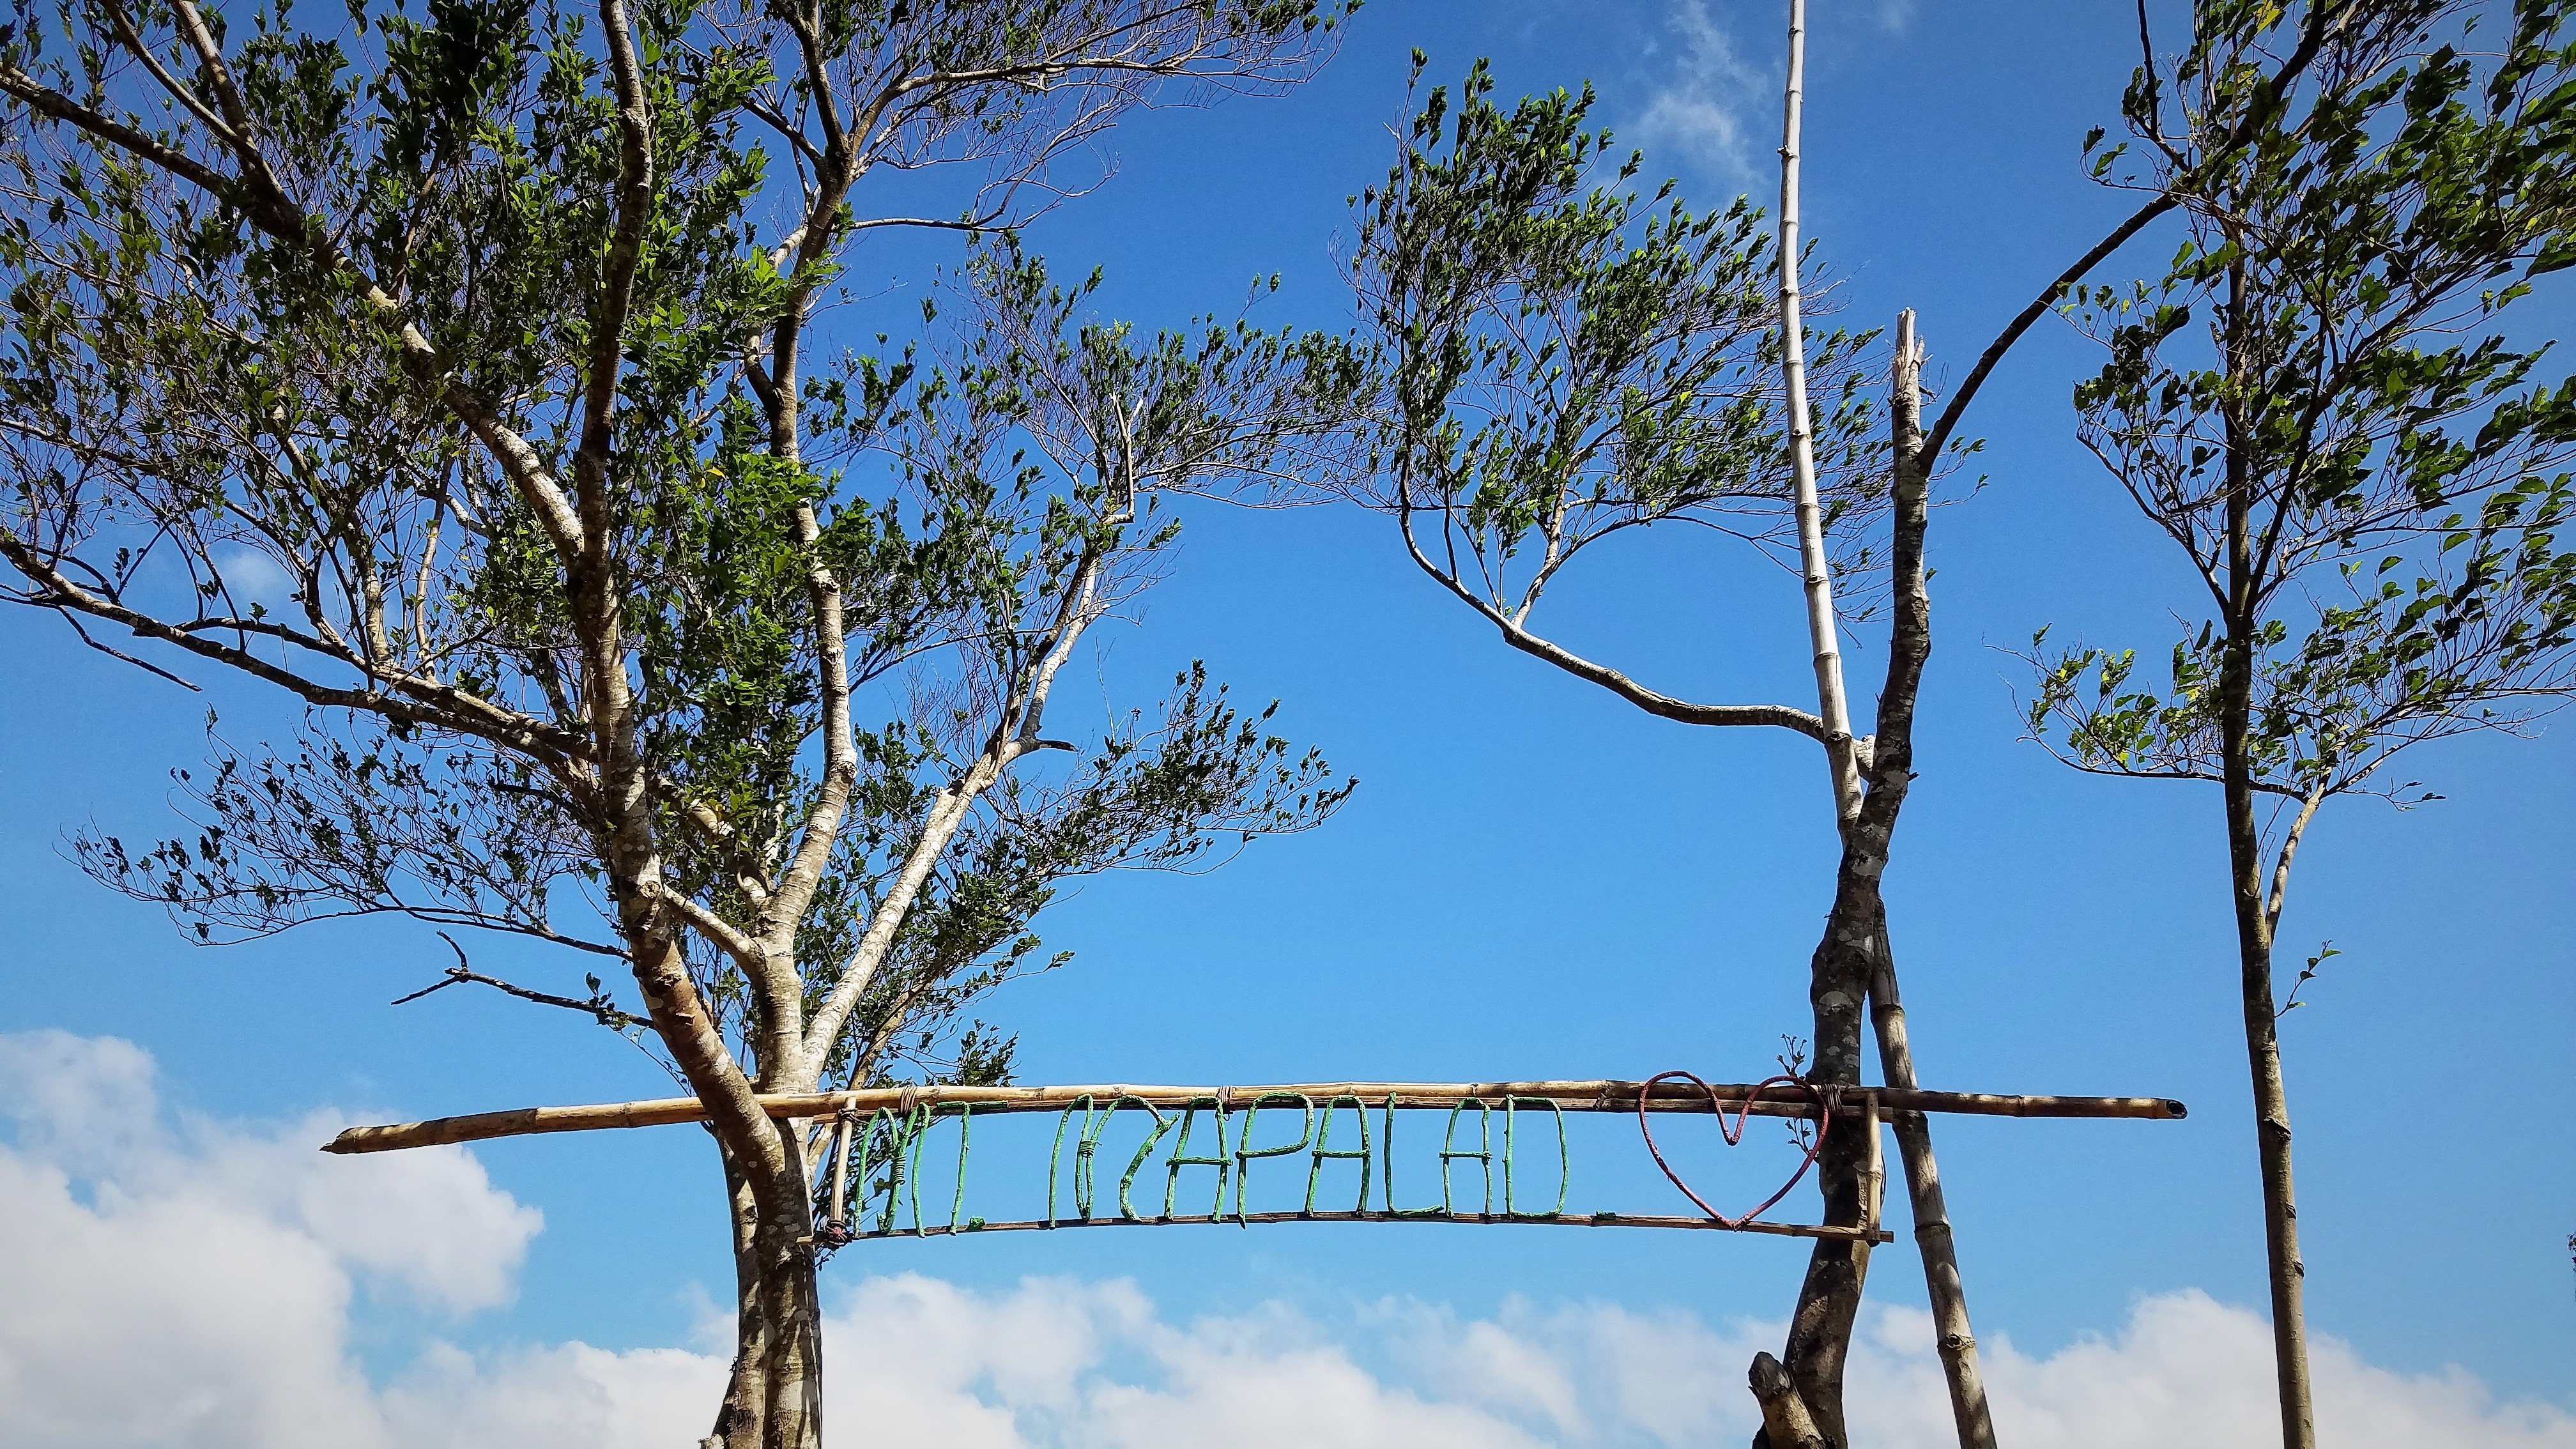
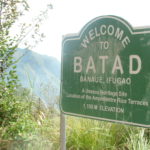
A Tale of Two Wooden Hands: Mt. Mapalad’s Hiking Guide

After two cancellations because of weather and sickness, we finally set foot at Rizal’s Mt. Mapalad on January 12. For someone who’s just a casual hiker, I had to rely on social media to know the easy and “budgetarian” mountain to climb. From one of my rare Facebook browsing activities last December, I discovered Mt. Mapalad through my college friend’s Facebook photos. I inquired and from there, I started a conversation with another friend about organizing a hike there.
Thankfully, my other friends approved this hike. It was originally scheduled for December but life happened. Kidding! But not all my friends were able to join, but of course, there’ll be more of that in the near future.
We were five in the group. I’ve got Anna, Jovs, and her friends. It was my first time to be with other hikers who are not my friends. But hey, they are friendly and nice. My 50 percent introvert self was delighted to know other people through this fun and knee-shaking activity.
The Yin and Yang Trail

A short bamboo bridge. (c) Anna Gabo
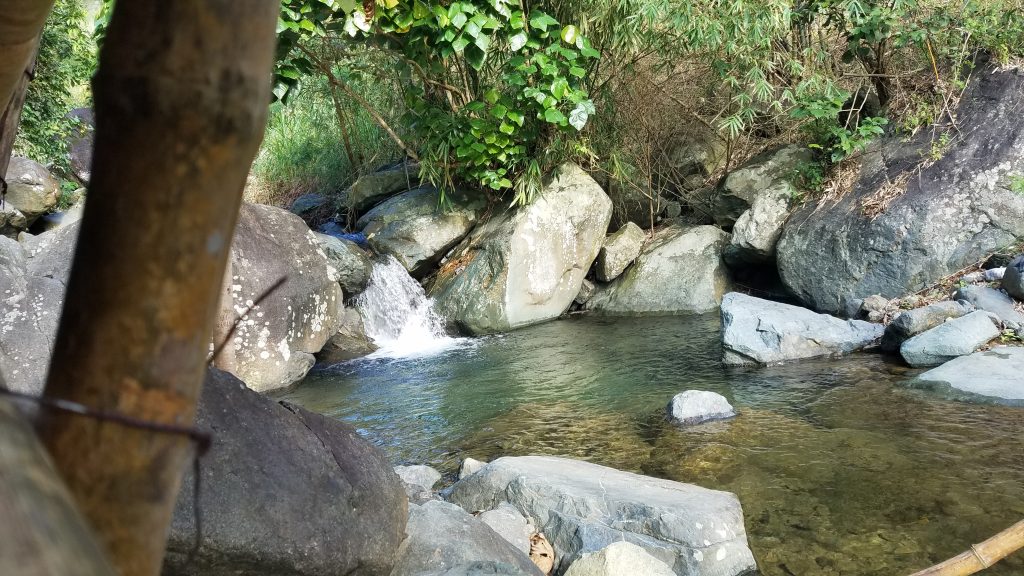
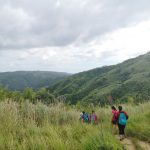
According to other blogs, Mt. Mapalad is a “chill” climb and it was, at least for the first half of the hike. It was relatively stress-free and the path was easy to follow. We encountered few small river streams along the way but we didn’t need to walk through them because there were shorter bamboo bridges to cross over. Apart from the river streams, the trail was composed of both rocky and wooded areas.

In awe.

(c) Anna Gabo
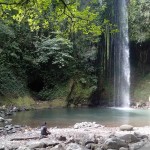
For the second half of the trail, we were greeted by Kinabuan Falls. You can climb it before going to the summit or while descending. Now, as soon as I laid my eyes on the next path going up, I knew it can be challenging. It was the dreaded assault and can be difficult for those people with shorter legs since it required bigger strides.

The Kinabuan Falls.
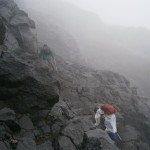
Because it rained early in the morning, the rocky assault course was muddy and slippery. All those hikers going down were saying, “Ingat po. Madulas ang trail.” And oh boy, they were so right about it. Once you made a wrong footing, you’ll slip. You should calculate your footing since it’s really slippery. Thankfully, there were bamboo hand rails where you can hold on to for support along the steep ascent. In case you need more support ascending, just put your grip on the rocks and it’ll do.

Start of the dreaded assault to summit.

View from the assault trail.
Along the assault trail, we met two young hikers; one boy (Kiel) and one girl (Franzel). For some happy reasons, they became part of our group without vocal agreement. We never had small talk until we reached the summit but we managed to know that they are junior college students who are fond of travelling whenever they can. As I observed, these two students had more energy compared to us. Maybe because they were younger than us, so the stamina was pretty apparent. And oh, did I mention that these kids took some photos of us? Apparently, they are building their portfolio and they offered to take our photos at the summit for FREE!

Franzel and Kiel.
When our guide, Ate Marilyn, said that it’ll be the last assault, we didn’t believe her. It felt like endless assault but there’s no way but up and meet the summit. After the final assault, we took a rest and decided to take our lunch since the summit is just 15 to 20 minutes away, and not, the trail was sort of flat straight this time.
The Summit of Two “Palads”

At the top, you will see two wooden hand structures. Since we were among the last batch of hikers for that day, we took our sweet time taking pictures. There was Palad 1 and Palad 2. Aesthetically speaking, Palad 1 was way better. However, Palad 2 gave a much amazing view.

It was a lovely noon at the summit and the wind blowing was colder since January is dominated with Amihan season. The windy summit was such a reward after the challenging assault and it’s all worth it.

The Descent
Descending was quite easy this time since we sort of memorized the right footing. Thanks to Ate Marilyn and her patience of waiting for all us to go down. She made sure that no one was left behind and boy, this woman was strong enough to help us more during the descent. Parang hindi pa sya nadudulas sa bundok. Also, it’s my first time to have a lady guide for a hike. Amazing!

Struggle was real during descent. You can see Ate Marilyn patiently helping and waiting for us. (c) Anna Gabo
As we continue to go down, we passed by a river where one can take a dip and enjoy the colder water of the mountain. It was refreshing you forgot you trekked down from the summit.

Tampisaw sa batis shot by Kiel.
Mt. Mapalad Specs
• Trailhead: Brgy. San Andres Tanay, Rizal
• Days required / Hours to summit: 1 day / 2-3 hours to summit and 2 hours descend (depending on your pace)
• Specs: Minor hike, Difficulty 3/9 (Summit) Trail class 1-4
• Jump-off point: If you’ve been to Mt. Batolusong, then Mt. Mapalad is just a few minutes away.
Mt. Mapalad Via Commute
- Meet-up point: Jollibee, Farmer’s, Cubao
- Ride a jeepney with Antipolo Cogeo signage and alight at Cogeo Gate 2 or Cogeo Public Market
- Take a 5-minute walk towards the Cogeo City Mall until you reach the jeep terminal going to Brgy. San Andres
- In Brgy. San Andres, ride a trike and tell them to drop you off at Mt. Mapalad registration area.
Mt. Mapalad DIY Budget
- 26 – Jeepney ride from Cubao going to Antipolo Cogeo
- 44 – Jeepney ride from Cogeo to Brgy. San Andres
- 60 – Fare for one tricycle ride from Brgy. San Andres to Mt. Mapalad registration area is 120. We’re only 2 inside the trike (120/2). But the maximum capacity of the trike is 4.
- 100 – Registration fee per head
- 100 – Guide fee is 500 per group of 5
330 – Total per head for a group of 5
Food expenses are not included since it would depend on how hungry you are before and after the climb! 🙂
Things to Bring
- Snacks – Jelly ace, trail food, eggs, and rice meal (if you want)
- Water – At least 1 liter
- Extra clothes – You need it especially if you plan to take a dip into the river
- Slippers – if you feel like it
- Trekking pole – It will come in handy especially when descending, trust me. If you don’t have one, find an unused bamboo pole along the way. Ask for your guide’s help.
Other notes:
- This is a DIY hike and we took our time from meet up point to descent from the mountain.
- If you want to catch the “sea of clouds”, you should start your hike around 3 A.M. and the registration area is already open that time.
- If you don’t belong in an organized hiking event, the locals will recommend riding a trike taking you to the jeepney terminal going to Cogeo. According to them, jeepneys during the afternoons of weekends are full and it’ll be difficult to find one that can accommodate your group.
More From Our Site

Wandering mind. Exercising her feet sometimes for travel. Moderate coffee drinker. 90’s music fan. Film enthusiast. Sleepy.